

Tips & Tricks
Make the Most of Your Remnants with IntelliMAX
This tip comes from longtime OMAX Regional Sales Manager Patrick Turpin, who oversees sales in Australia, New Zealand, the Philippines, and Indonesia.
Did you know that IntelliMAX has a “Remnant” capability? That’s right, you can manually track remnants and add parts to existing sheets, allowing you to save money by using as much of your material as possible. Let’s go over how the remnant feature works.
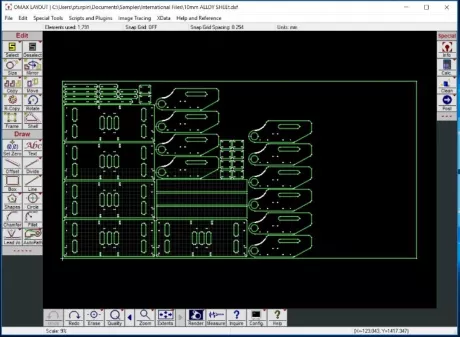
- Open the file and verify that the Set Zero cross hair is in the corner of the box that represents the outline of the sheet. In this example, the zero point has been set in the lower left corner
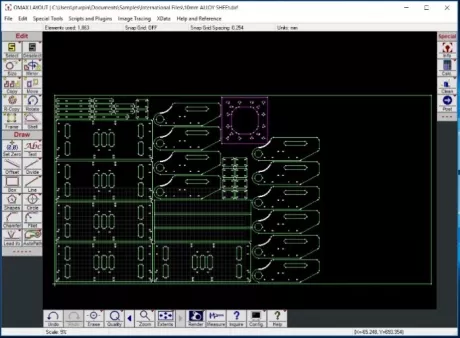
- Click File then select Insert to add your new geometries onto the sheet. You will need to use the Move function to manually nestle the new geometries into the proper location. DO NOT SAVE YOUR .dxf FILE YET.
- Next, click AutoPath. One of two things will happen: with older visions of LAYOUT you will get a pop-up that tells you there are traverse lines in the .dxf file. Click “yes” and all the traverse lines will disappear. In newer versions of LAYOUT, the traverse lines will simply disappear without a prompt.
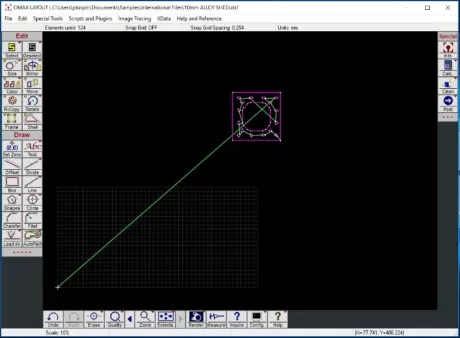
- Now Post your part. You will get a Tool Path from the corner of your remnant to the new parts you are cutting. Save that Post, but you are not finished.
- In LAYOUT, hit the undo button a few times and your original remnant will appear with the additional geometries.
- Right-click on Quality, left-click All and then left-click Traverse. The entire sheet will be green.
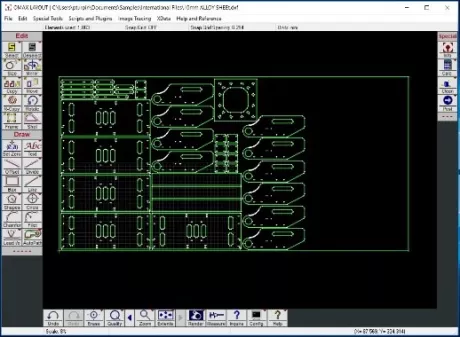
- Now, you can navigate to File and click to Save your .dxf file. Your remnant is ready for the next time you want to cut parts from the plate.


